Long ago in the days before the internet (the 1980s), I was struggling with a scone recipe from British Heritage magazine (I think the measurements were by weight rather than volume), and my college housemates took pity on me and bought me Biscuits and Scones
Twenty years later, the spine of the book has cracked so that it will usually just flop open to the recipe for Simple Sweet Scones.
2-1/2 cups all-purpose flour
1 tablespoon baking powder
1/2 teaspoon salt
8 tablespoons (1 stick) unsalted butter, cut up
1/4 cup granulated sugar (or 1/3 cup for sweeter scones)
2/3 cup milk
Preheat oven to 425F. Mix flour, baking powder and salt together in a large bowl. Add the butter and cut in with a pastry blender or rub it in with your fingers until the mixture looks like fine granules. (I prefer the finger method.) Add sugar; toss to mix (with your hands - not tossing it up into the air ;o).
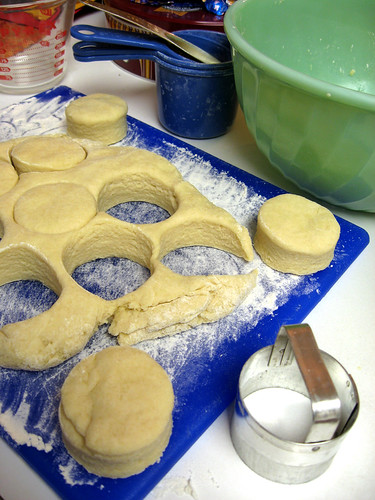
Add milk and stir with a fork until a soft dough forms. Form the dough into a ball, and knead gently on a lightly floured board (about 10-12 kneads). Pat or roll the dough out into a circle about 1" thick and cut out scones with a biscuit cutter or round drinking glass dipped in flour.
Place scones on an ungreased cookie sheet, and bake for about 12 minutes or until medium brown on top. Put a linen or cotton dish towel on a wire rack and lay scones out to cool, covering them loosely with the cloth. Serve with butter & jam (or whipped cream or clotted cream if you're feeling decadent), and a nice cuppa tea.